DIY Solar Powered Bristlebot
There are lots of vibrabots and bristlebots out there, but we had trouble finding a solar powered version. In this post, we show you how to use Voltaic’s mini solar panels to create your own solar powered bristlebot! Watch as it vibrates and moves around just through the power of the sun!
Materials Needed for Solar Bristlebot:
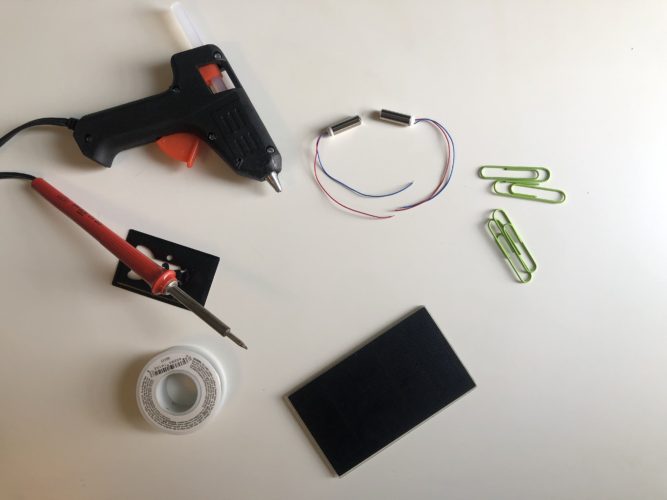
- 1 or 2X Vibration Motors
- 1 X Solar Panel – Both the 0.3W, 2V and 1.2W 6V panel work
- Paper Clips
- Tape or Glue
- Soldering Iron
- Rosin/Flux Infused Solder or Solder with Flux
- Double-Sided Tape or Glue
- Any decorations you would like: Googly Eyes, Pom-pom Balls, Pipe Cleaners, etc.
Assembly of Your Solar Powered Bristlebot!
Step 1
Tape or glue your motor(s) to the back of the solar panel. Make sure the motor(s) are close enough so the wires can reach the solder pads. Don’t cover the solder pads with the motors.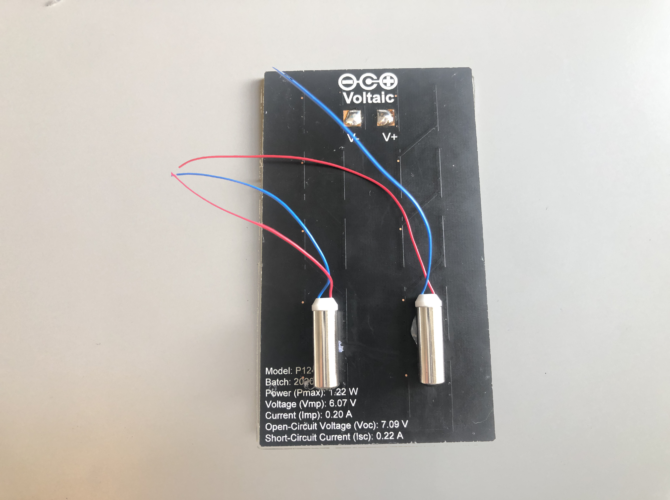
Step 2
Tape the wires to the panel temporarily so the metal end of the wire touches the soldering pad. If you have 2 motors, put 1 wire from each motor on a soldering pad. The remaining 2 wires will be soldered together later. The color of the wires doesn’t matter in this application as the motors will vibrate in either orientation. If you want to follow the convention, put the red wire on the V+ pad and the blue wire on the V- pad.
Step 3
Now it’s time to solder! We recommend using rosin/flux cored solder so it’s simpler to solder it together. However, if you just have regular solder just put a little bit of flux on the soldering pads before you solder.
Finally, bring the solder next to the wire and use the soldering iron to melt the solder onto the soldering pad and wire. Then, after everything cools down untape the wires and bring the solar panel outside into the sun to make sure the motor(s) vibrates.
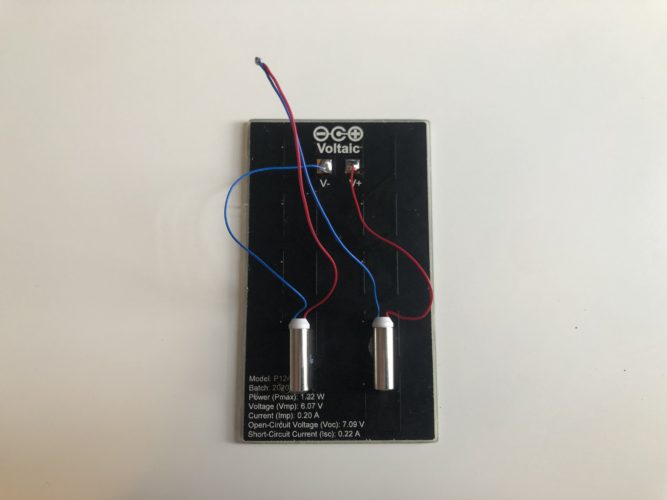
You can also tape or glue the wires together so there are no loose wires.
Step 4
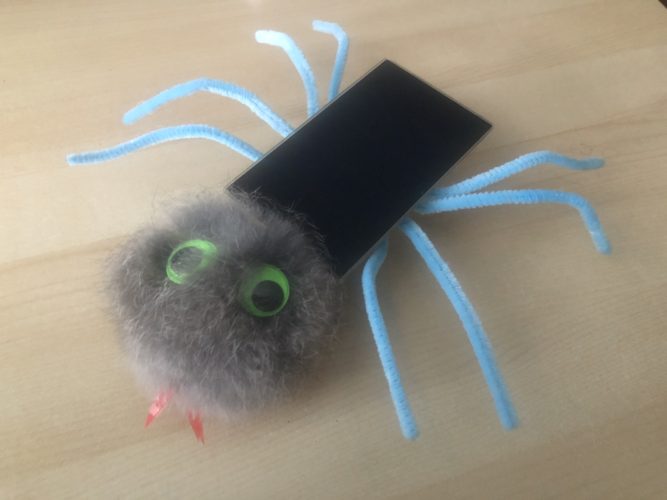
Time for us to make our legs! Bend your paperclips and cut off the end of the paperclip that will be touching the ground.
Tape or glue of the paperclips to the solar panel. Repeat this for the other legs.

Step 5
You can decorate your little friend however you want as long as the decorations aren’t very heavy and they don’t cover the top side of the solar panel. Make it yours! Some simple decorations would be to stick some googly eyes on it with double sided tape and stick some pipe cleaners on it.
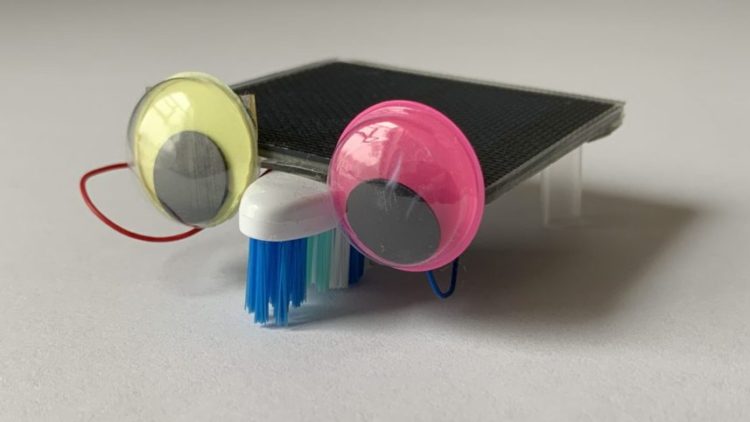

Step 6
Put your bristlebot in the sun!
Leave a Reply